Setup guide
Connect your Stripe account
Stripe is where your money actually lives - Splitfriday connects to your account and runs the splits inside it, never holding a cent itself. This guide covers both ways to connect, which one to pick, and the two things that occasionally need fixing.
No Stripe account yet? Create one first
Stripe is the payment company handling your card payments - one of the largest in the world, and the reason you never have to touch card data yourself. If your business does not have an account yet, create one at stripe.com - it asks about your business, your bank account for payouts, and verifies your identity. Allow 15-30 minutes for that, separately from this guide.
Already have Stripe? Continue straight on.
Pick your way to connect
Open Settings in Splitfriday. The connect card at the top offers up to two options:
- Connect with Stripe - a button that sends you to stripe.com, where you press Approve, and you are returned already connected. No keys typed, nothing to store, and you can revoke it from your Stripe dashboard any time. If you see this button, use it and skip to step 4.
- Paste a key - you copy one text string from your Stripe account into Splitfriday. Two more minutes of work, covered in step 3.
The paste-a-key path
A key is a long string starting with sk_live_ (real money) or sk_test_(Stripe's practice mode - fake cards, no real money). A good first run: connect a test key, play freely, then swap in the live key when you are ready. Swapping is just pasting again.
In your Stripe dashboard:
Developers›API keys›Create secret key
Give it a name like "Splitfriday", copy it, paste it into the Stripe secret key field in Splitfriday Settings, and press Connect Stripe.
The safer variant: a restricted key (recommended)
Instead of Create secret key, choose Create restricted key. A restricted key lets Splitfriday do its job and nothing more - it cannot touch your bank account details or account settings. Tick exactly these permissions and leave everything else on None:
- Checkout Sessions - Write
- PaymentIntents - Read
- Charges - Write (that is what refunds need)
- Balance - Read
- Webhook Endpoints - Write
- Account information - Read
- Connect: Accounts - Write, Account Links - Write, Transfers - Write
Two promises about that key: it is stored encrypted and can never be read back out of Splitfriday, not even by us. And you always hold the kill switch - roll the key in your Stripe dashboard and our access ends that instant.
Let the automatic checks run
The moment you connect, Splitfriday sets up the rest inside your Stripe account by itself - including the notification line that tells us the instant a payment lands, so orders update in seconds. There is nothing for you to configure in Stripe.
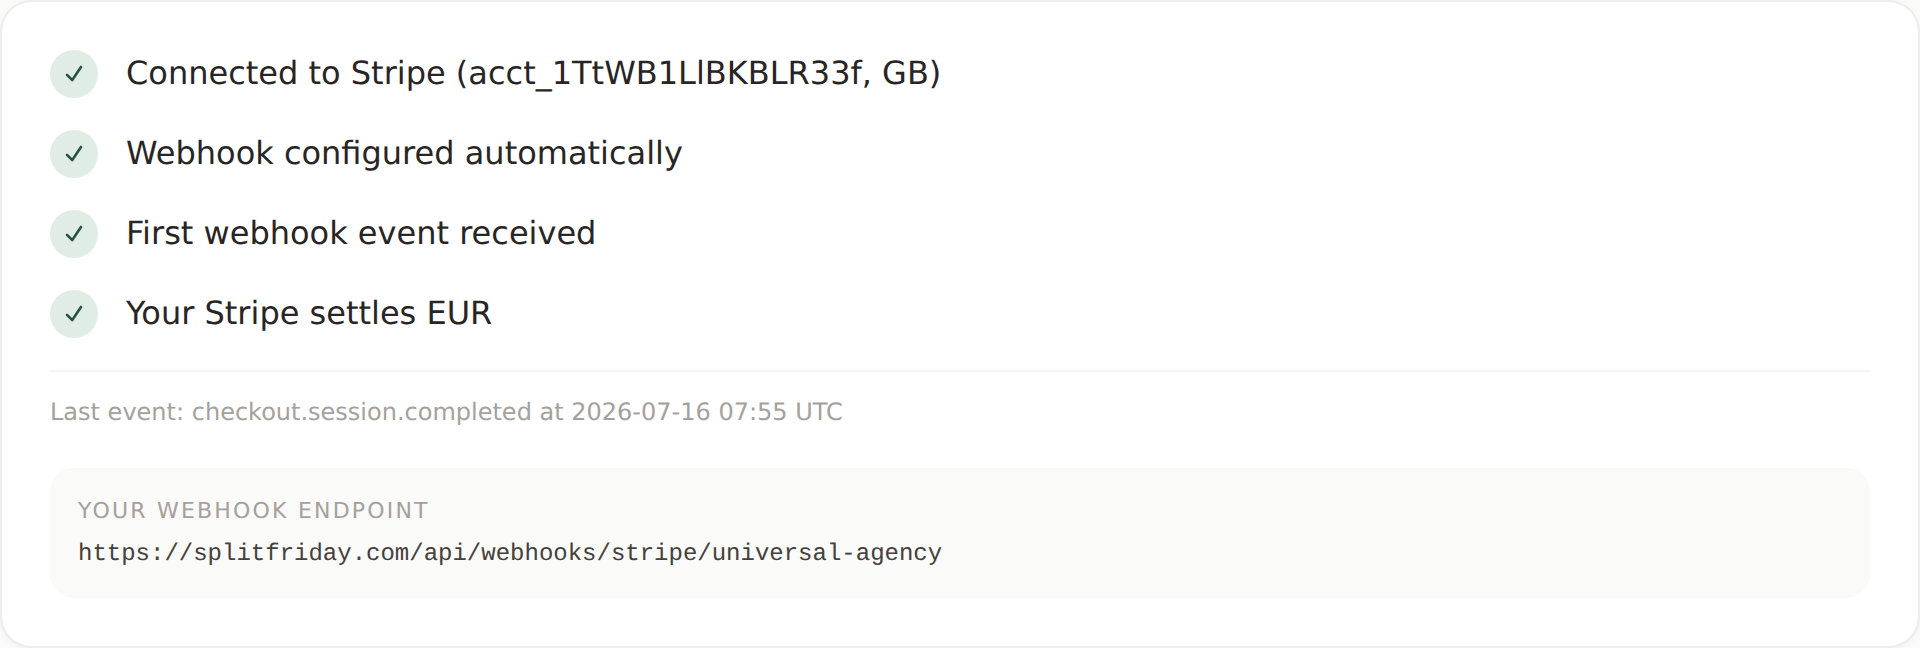
You should now see
If the currency check is red
It means your Stripe account cannot yet pay out the currency your workspace charges in - for example, you charge EUR but your Stripe only has a USD bank account. Stripe fixes this with one screen:
Settings›Bank accounts and currencies›Add a bank account
Add a bank account in your charging currency, then come back to Splitfriday Settings and press Re-run checks.
You should now see
Key rejected when pasting?
Three usual causes: a stray space copied at either end; a publishable key by mistake (those start with pk_ - we need sk_); or a restricted key missing one of the permissions listed in step 3. Create a fresh key and paste again - pasting a new key simply replaces the old one.
Next guide
Add the people you pay
Your Stripe is connected - next, invite your earners so payouts have somewhere to go.