Setup guide
Get running in 15 minutes
This is the whole setup, start to finish. No programming, no website needed - just you, your email inbox and your Stripe account. Follow it top to bottom; every step tells you what you should see before moving on.
Sign in with your email
Go to splitfriday.com/login, type your email address and press Send sign-in link. There is no password to invent or remember - we email you a sign-in link instead, every time.
Open your inbox, find the email from noreply@splitfriday.com and click the link inside. It works once and expires after 24 hours.
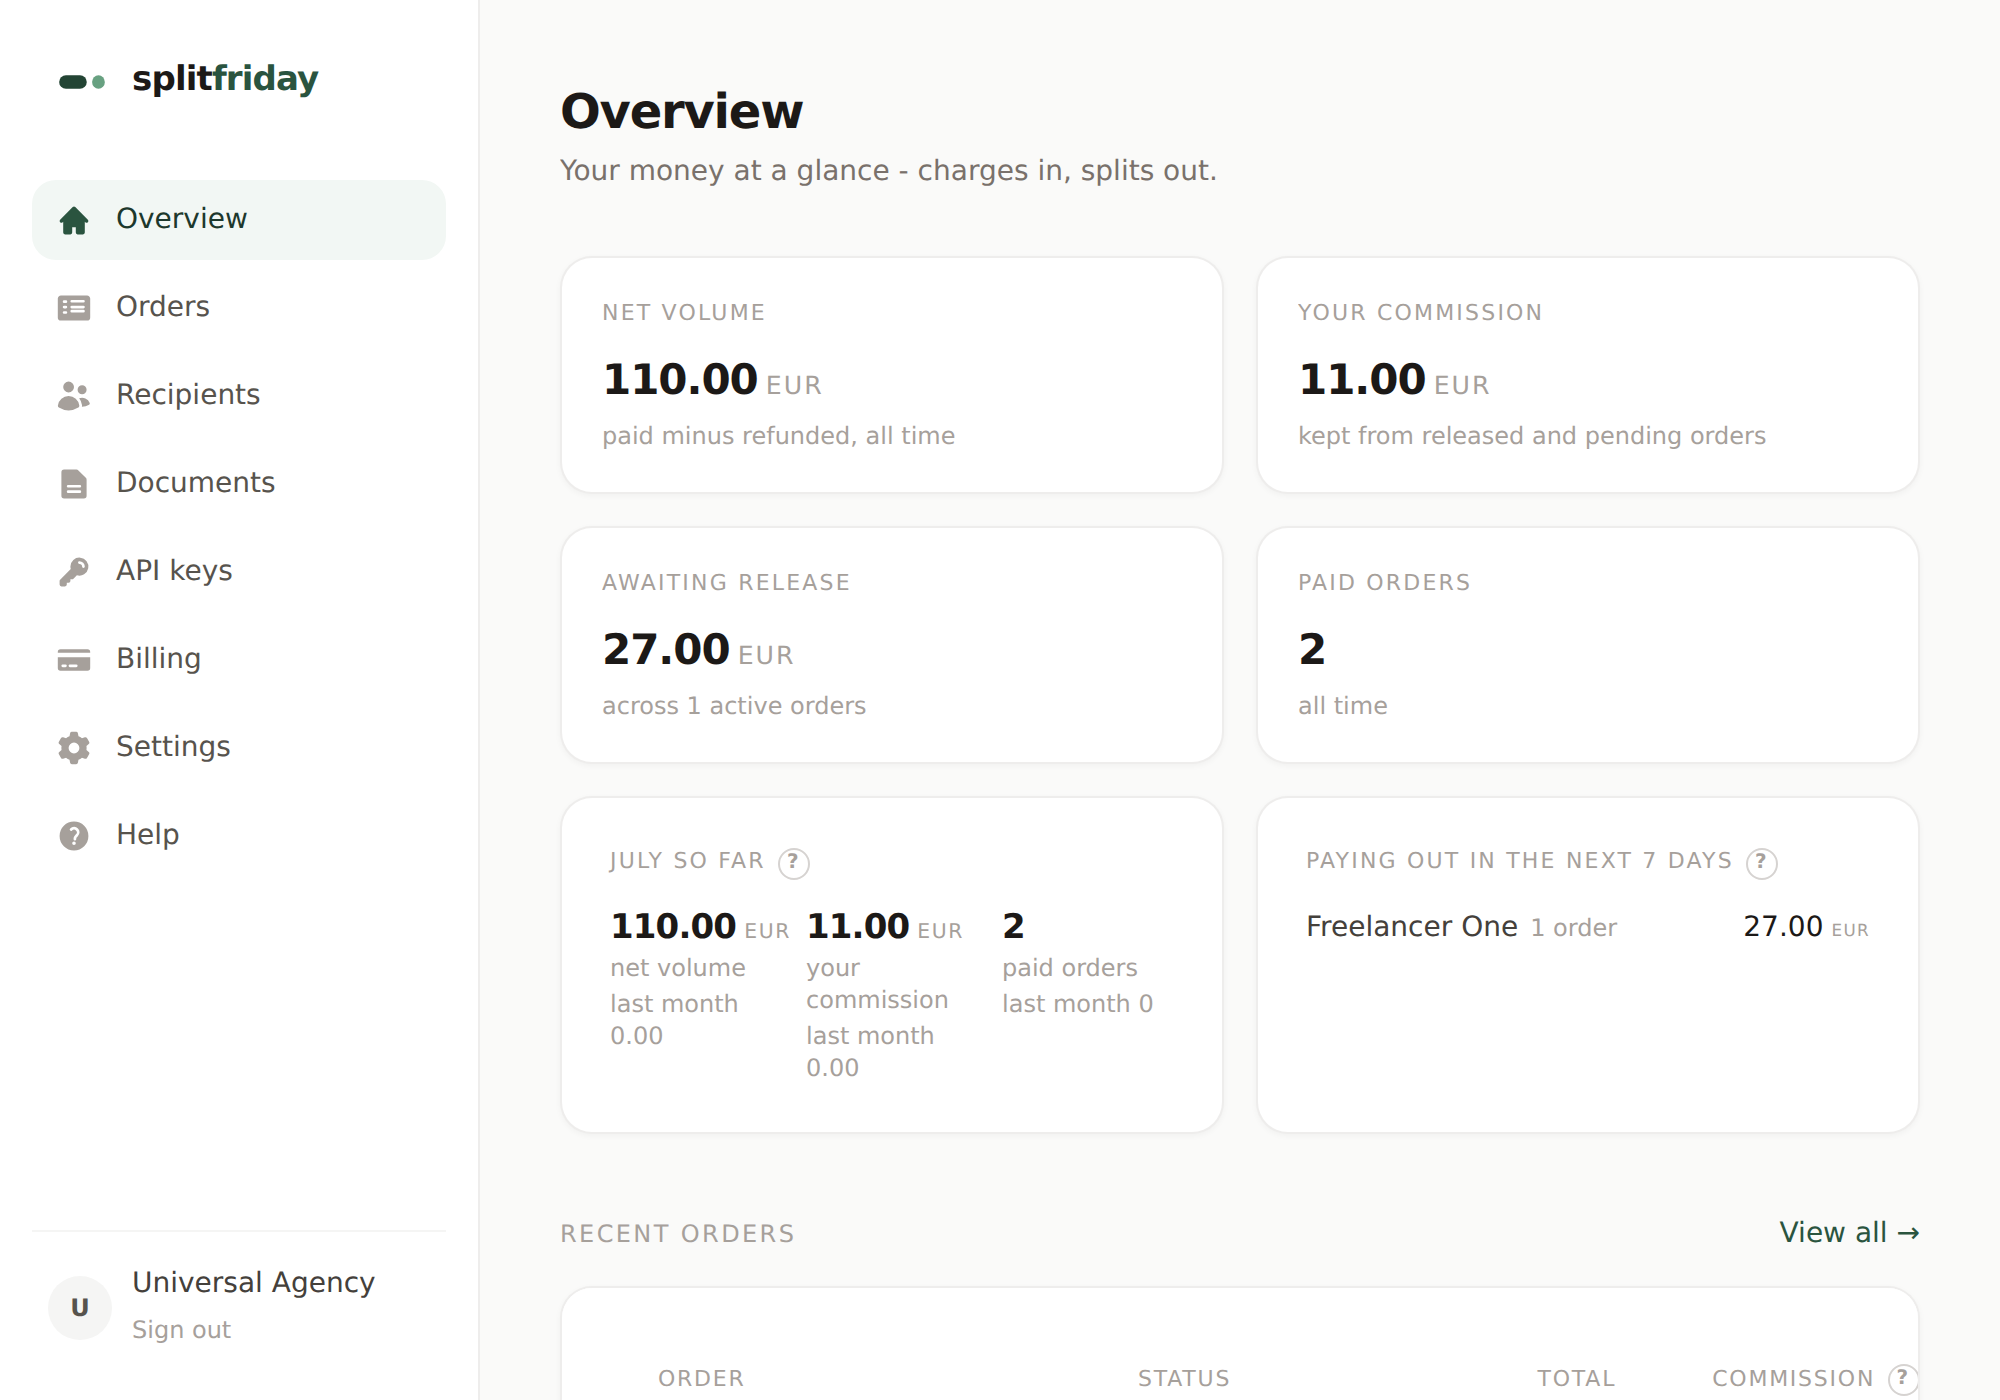
You should now see
No email after a minute?
Check the spam folder first. Still nothing? Go back to the login page and send it again - and make sure the address has no typo, we only send to exactly what you typed.
Name your workspace
Three fields, none of them tricky:
- Business name - what your buyers and earners will see, for example your studio or agency name.
- Currency - the currency you charge your customers in. Pick the one you actually use; you can add more markets later.
- Time zone - where your business lives. This decides which day an order belongs to on invoices and reports.
Press Create workspace.
You should now see
Connect your Stripe account
Splitfriday never holds your money. Every payment lands in your own Stripe account, and we manage the splitting there - which is why this connection is the one piece of real setup.
Open Settings in the left menu. At the top you will find the connect card with a short checklist. Two ways to connect:
- Connect with Stripe (the button) - you approve on stripe.com and are sent straight back. Nothing to copy, nothing stored. Use this if you see the button.
- Paste a key - copy one key from your Stripe account into the field and press Connect Stripe. Where to find the key, and which kind is safest, is its own short guide: Connect your Stripe account.
Either way, we set up everything else in your Stripe automatically - you do not need to configure anything there.
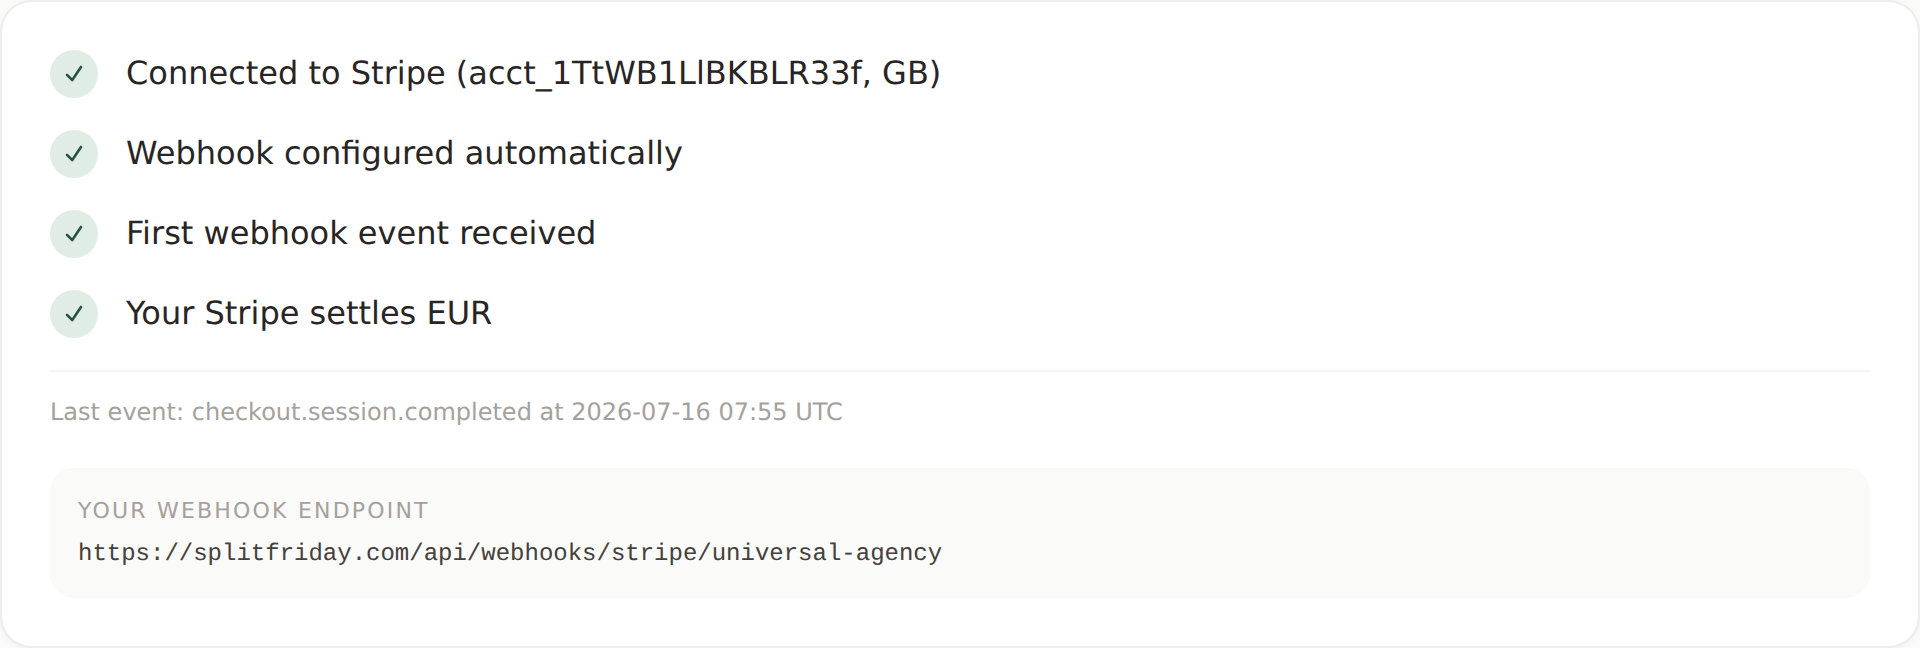
You should now see
A warning about currency?
It means your Stripe account does not yet settle the currency you chose in step 2. The fix is one screen in Stripe: Settings›Bank accounts and currencies›Add a bank account in your chosen currency, then press Re-run checks in Splitfriday. Full detail in the Stripe guide.
Add your first earner
Earners - we call them recipients - are the people who get a share of each payment: your freelancers, stylists, instructors, partners.
Open Recipients in the left menu, fill in their name, email and country, and press Add recipient.
Then press Invite to payouts on their card. They receive an email with a secure link where Stripe asks for their identity and bank details - directly, so you never see or store any of it.
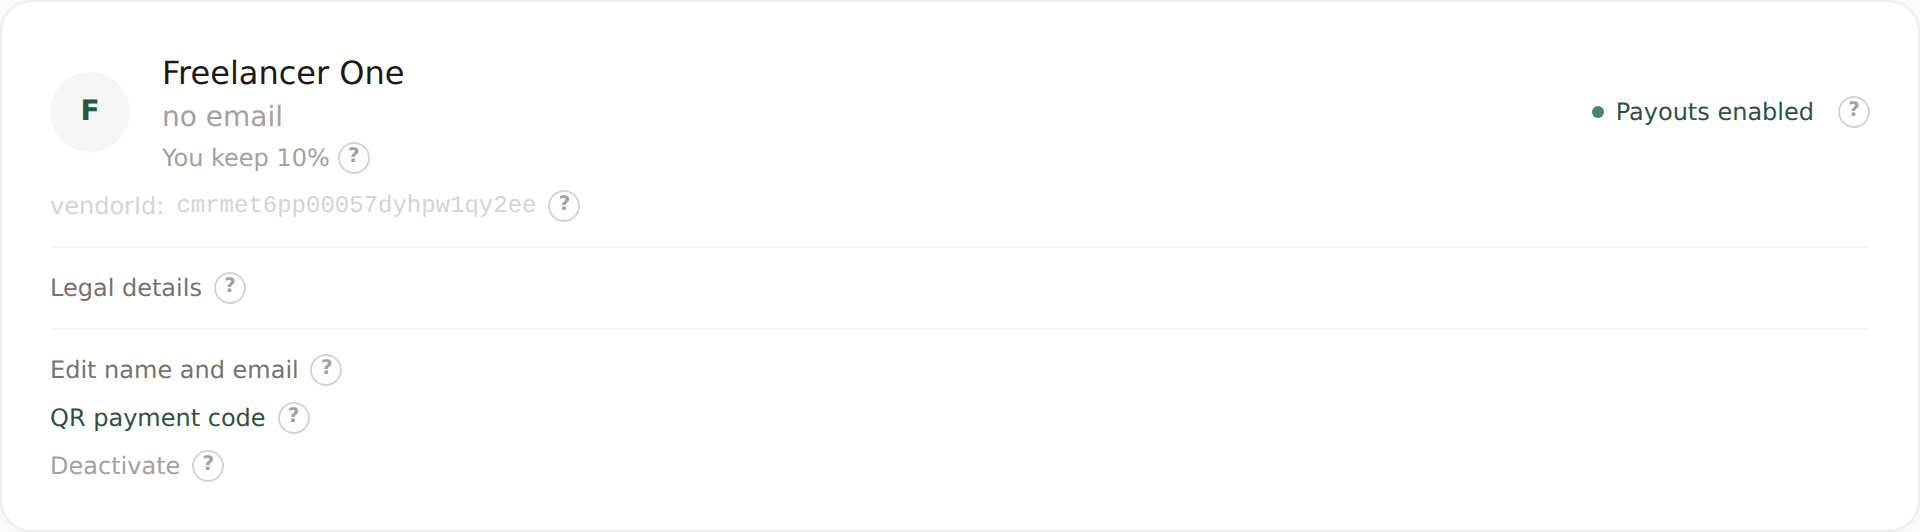
You should now see
Want to warn them what to expect?
Forward them the second half of the recipients guide - it explains in their language why Stripe asks for an ID and how long it takes (usually a few minutes).
While Stripe checks them: set your cut
In Settings, under the connect card, you will find your commission - the percentage of each payment you keep. It starts at 10%. Change it to whatever your real arrangement is; you can also set a different rate per role later.
Also worth a glance now: the hold window - how long money waits after the service before paying out (your protection window for complaints), and the cancellation policy your buyers get. The defaults are sensible; you can return to all of this any time.
Make a real test payment
The honest way to trust a money system is to run one euro through it and watch. The no-code way needs your first earner to be green (Payouts enabled) - usually a few minutes after they finish their link.
- In Settings, switch on In-person QR payments.
- In Recipients, open your earner's QR payment code page.
- Scan the code with your own phone, enter a small amount - one euro is plenty - and pay with your own card.
If you connected with a test key instead of a live one, use Stripe's test card number 4242 4242 4242 4242 (any future date, any 3 digits) - no real money moves.
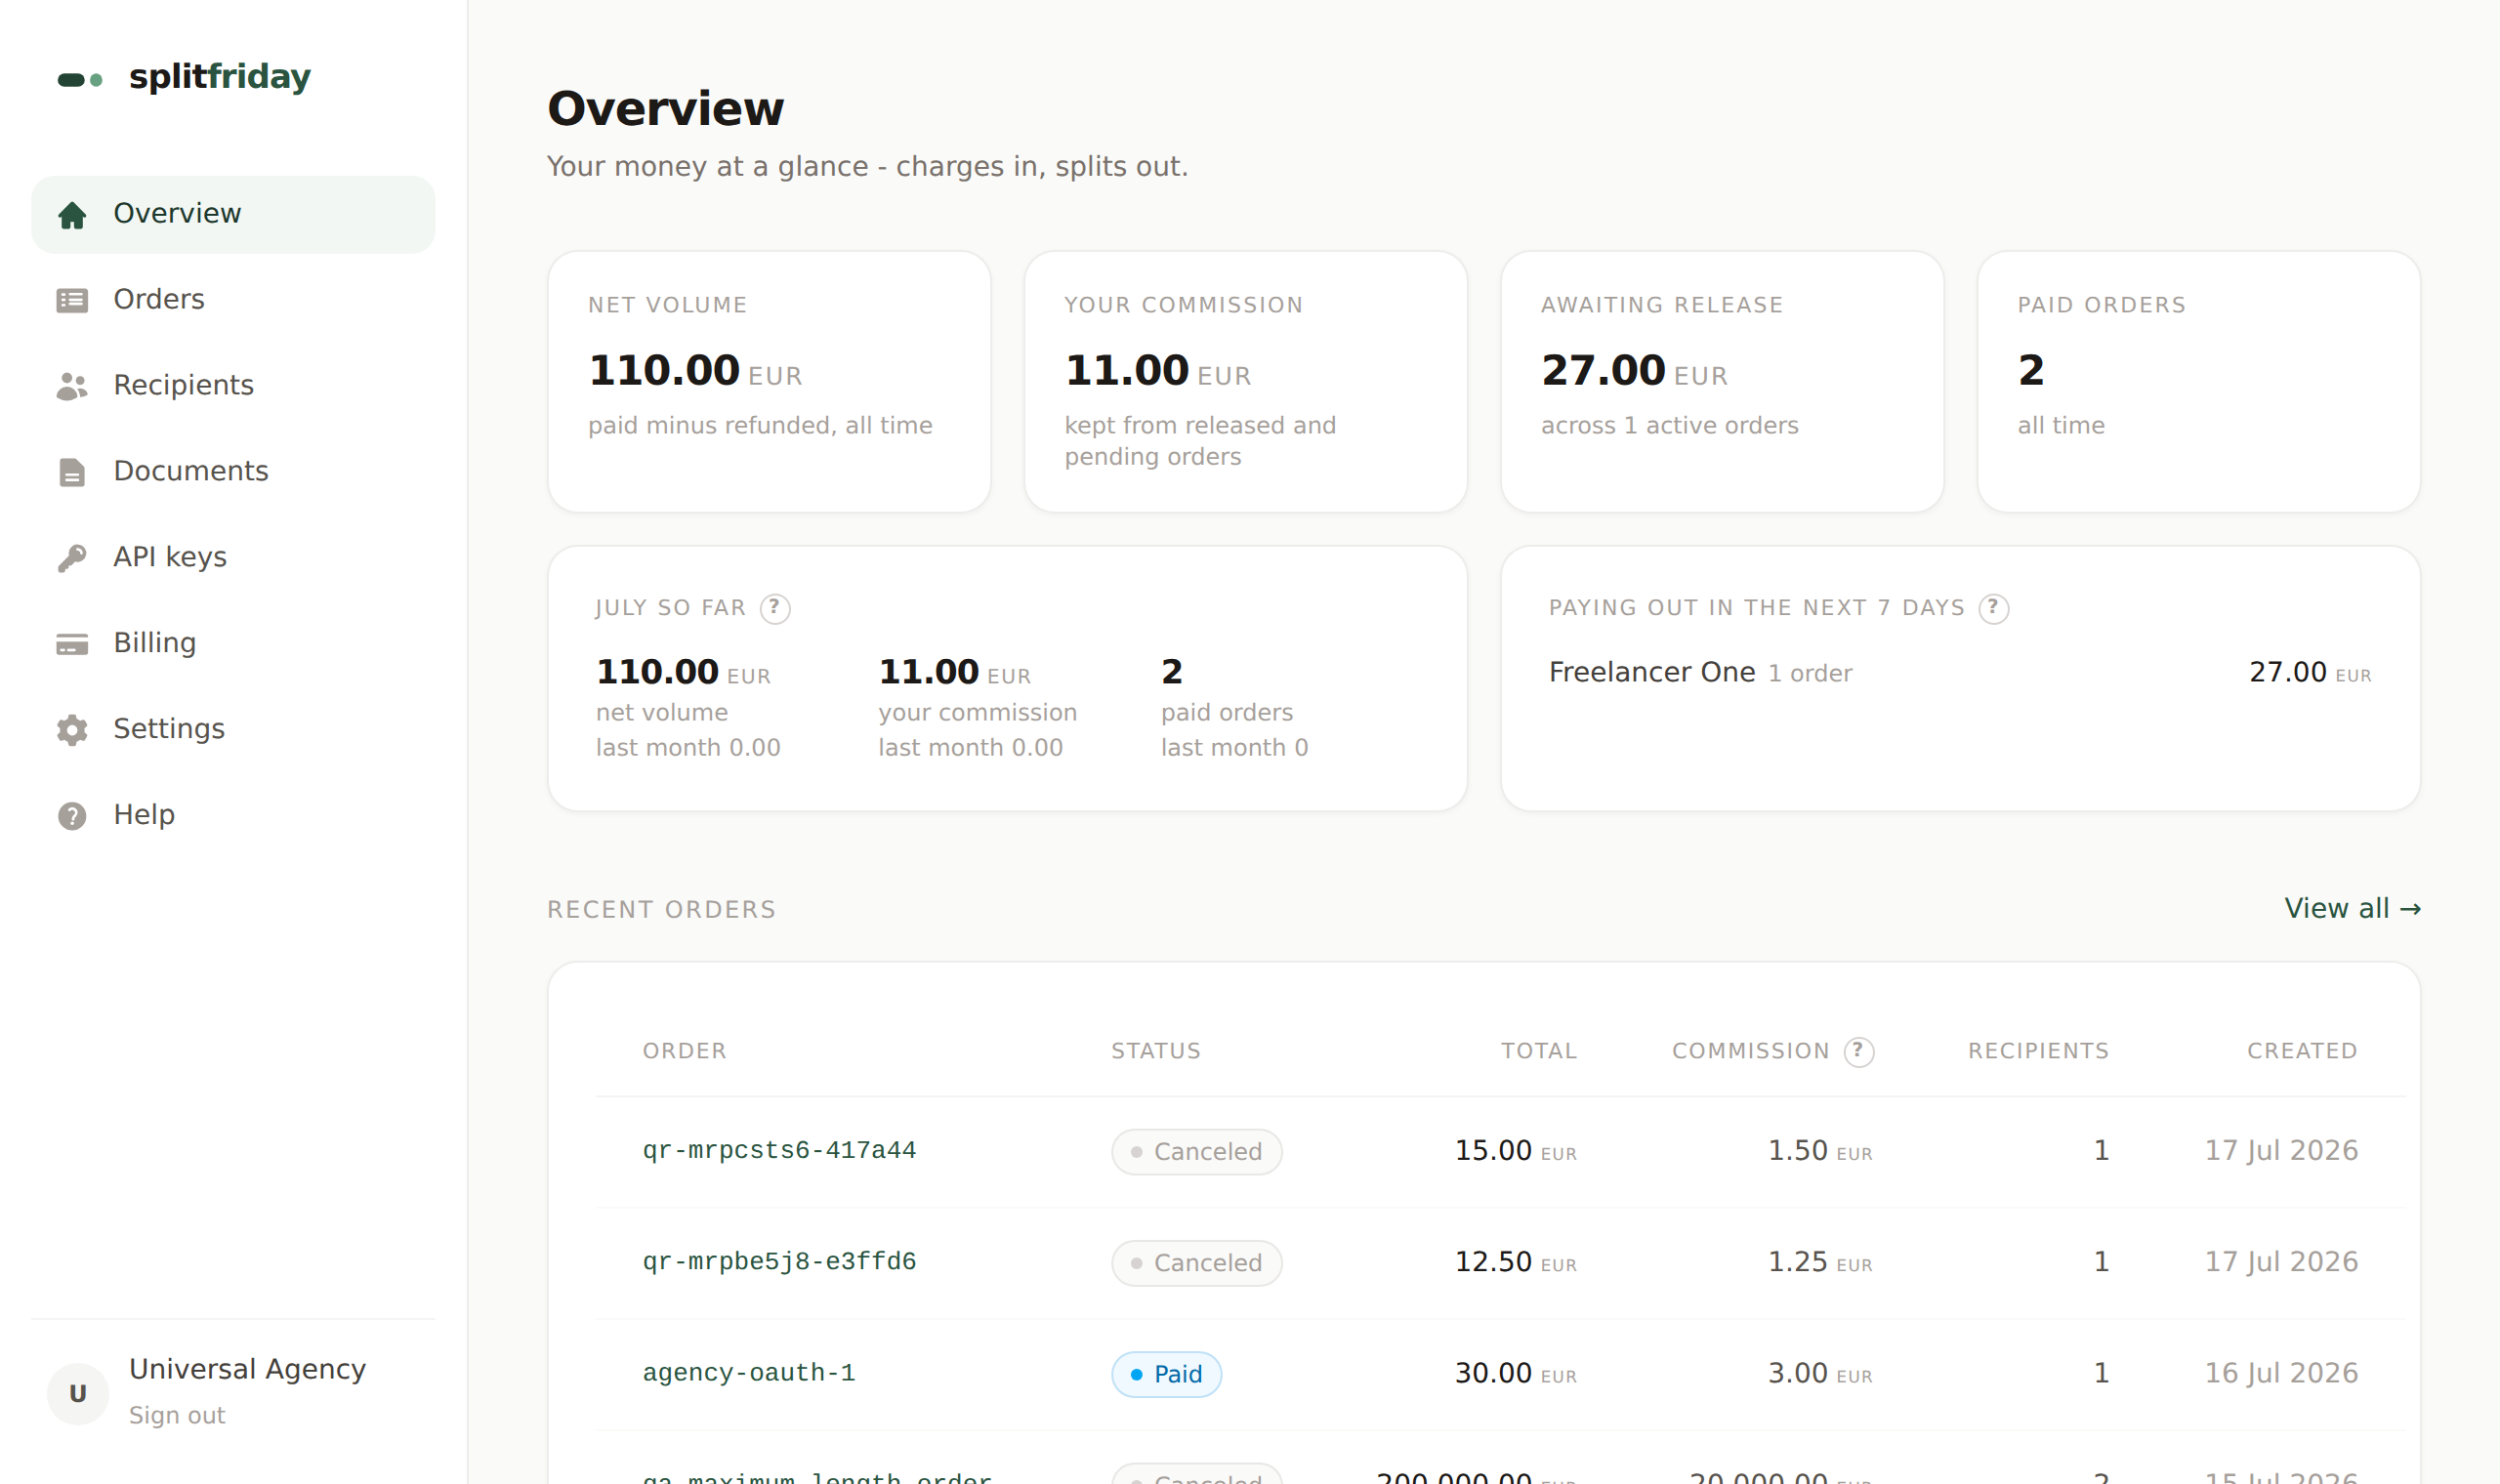
You should now see
Clean up and you are done
Open the test order and press the refund button - your euro comes back to your card, and the books adjust themselves to the cent. That refund flow you just used is the same one you will use for real orders.
That is the whole system: payments in, splits automatic, payouts on schedule, paperwork generated monthly. From here, choose your way of taking payments for real: